Williams Aztec Extreme Playfield Touch-Up and Restoration
By: Alan Norton
Tucson, Arizona
June 15th, 2016
First Looks
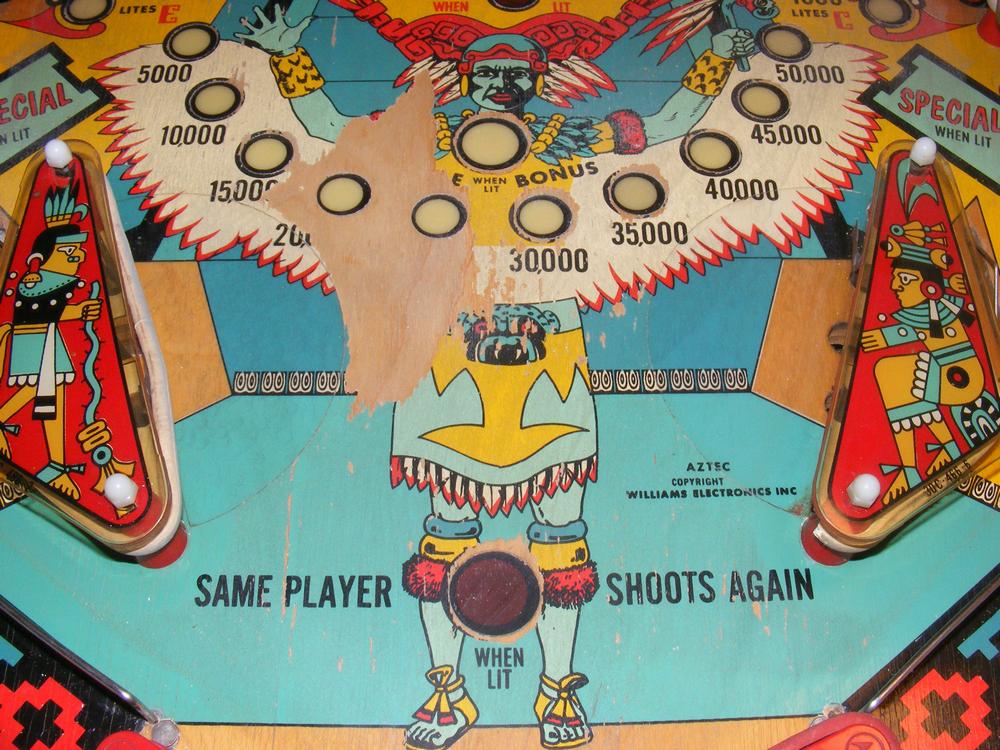
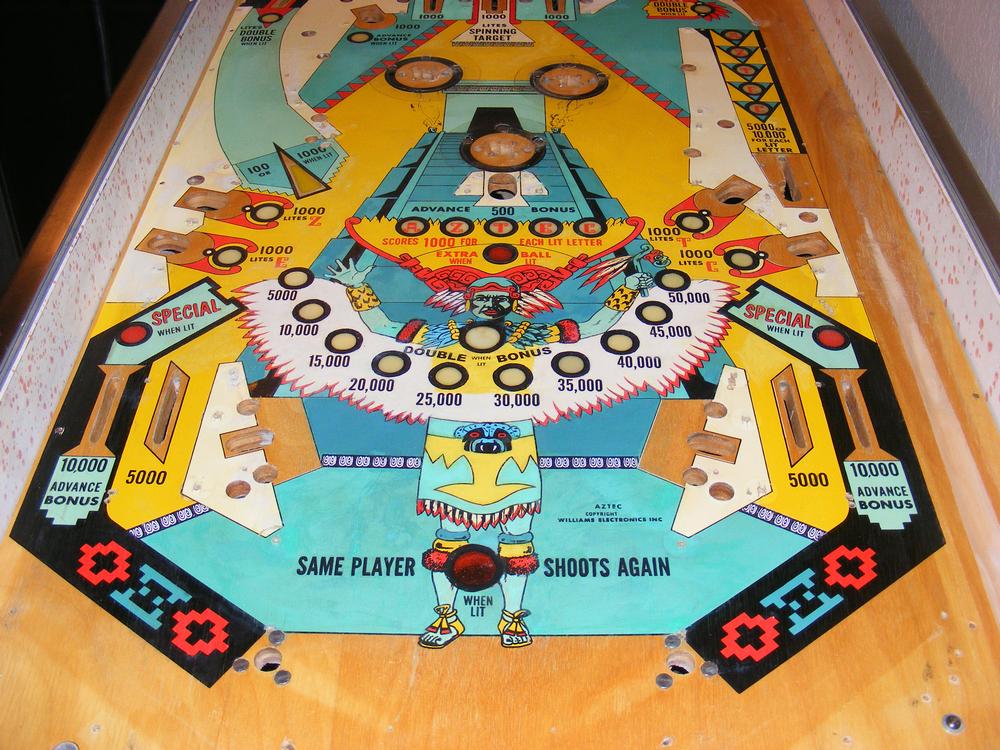
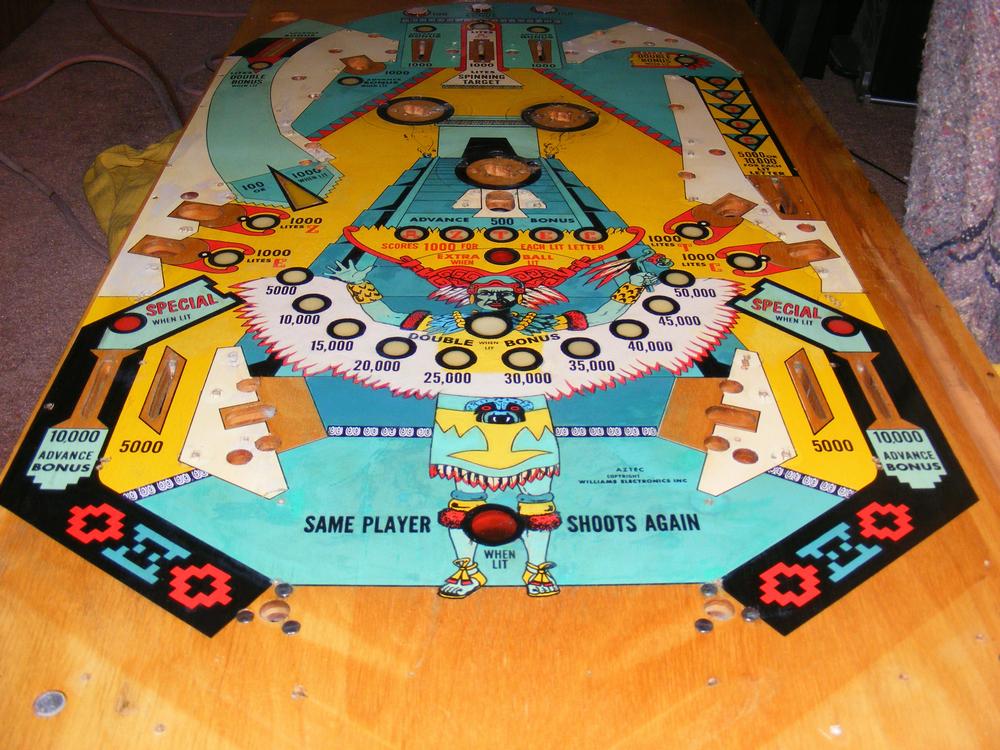
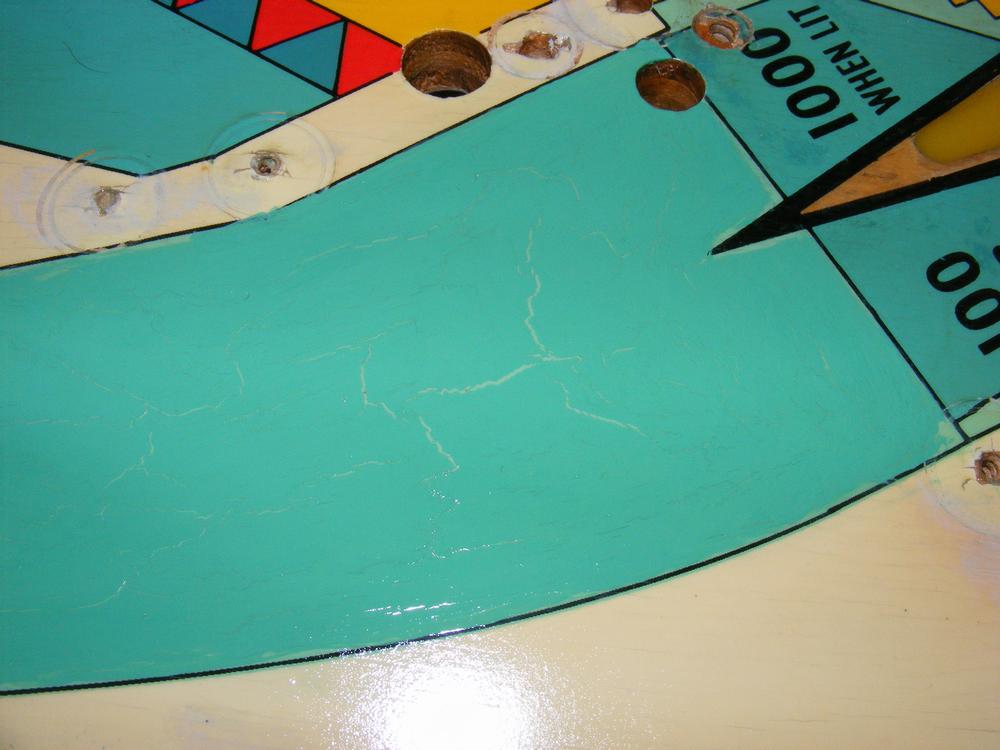
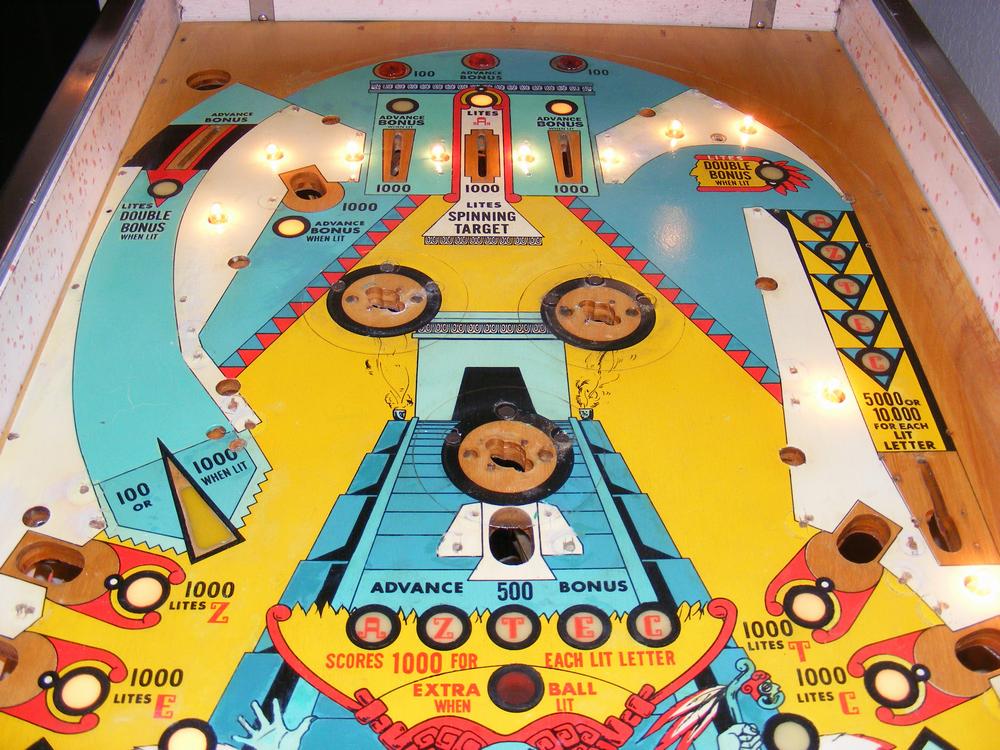
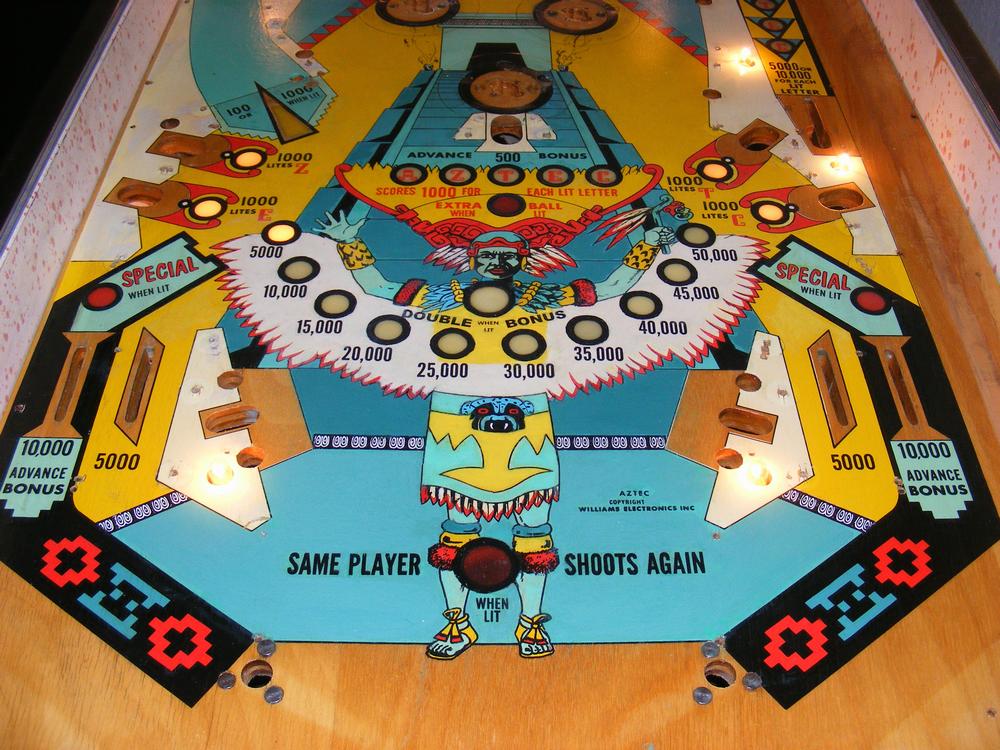
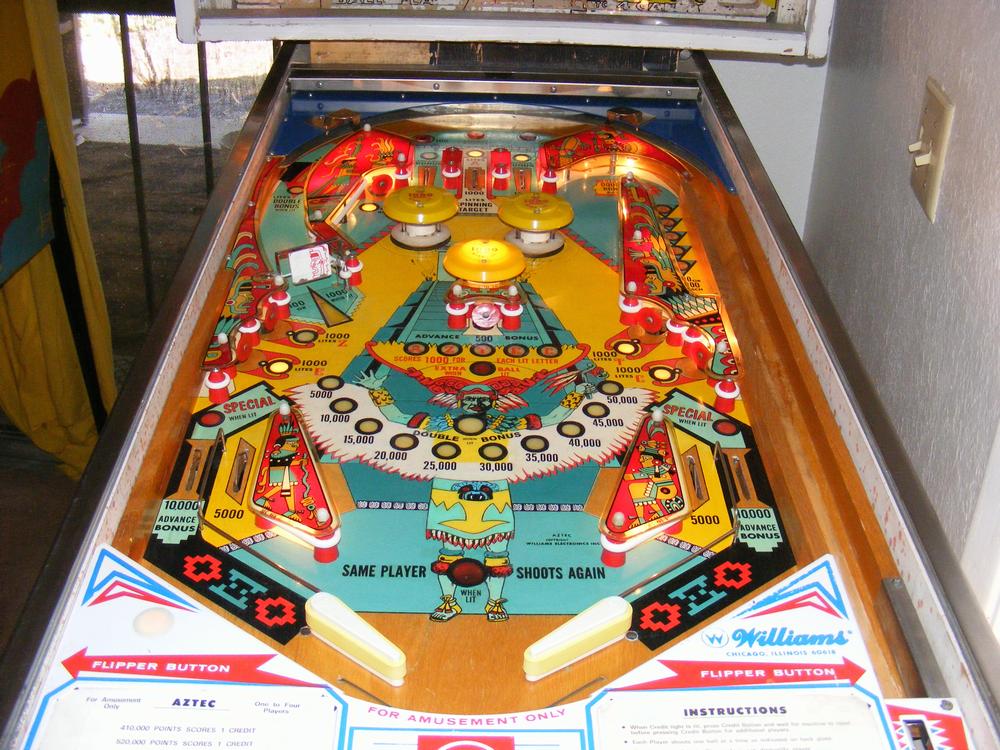
I don’t know why I thought I could restore the 1976 Williams Aztec pinball machine when I looked at it in the Craigslist Ad and then the pinball machine itself in person. The backbox was so rickety and leaned so far forward that I was thought it might come crashing down at any moment. The right flipper pawl was dangling inside the cabinet and the flipper was dangling on the playfield. The backglass had bad flaking and, worse, someone had tried, poorly, to touch it up. It was powered up and ‘played’ – well if you call scoring points ‘playing.’ The chimes were in a sad state. They clunked and clanged instead of that sweet distinctive EM sound that I knew and loved so well. I didn’t waste any time trying to figure out what was wrong mechanically. Why bother? It would have to be completely gone through regardless. The playfield had severe planking at the top and a large four by six inch spot above the flippers that was worn down to the wood. I knew that I could fix the mechanical and structural problems, but restoring the playfield and backglass were way beyond my artistic experience and skill set. But it was one of the last electro-mechanical pinball machines made and it was a Williams, of which I am quite fond, and it was staring back at me as if to say “Take me home, pretty please!” And I did, but not after offering $50 less than the $350 that was listed in the Craigslist ad. I normally include a bonus of $20 - $50 for the project pins I find but this machine was in a sad state. You know you have your work cut out for you when the best features of a pinball machine are the plastics and cabinet sides!
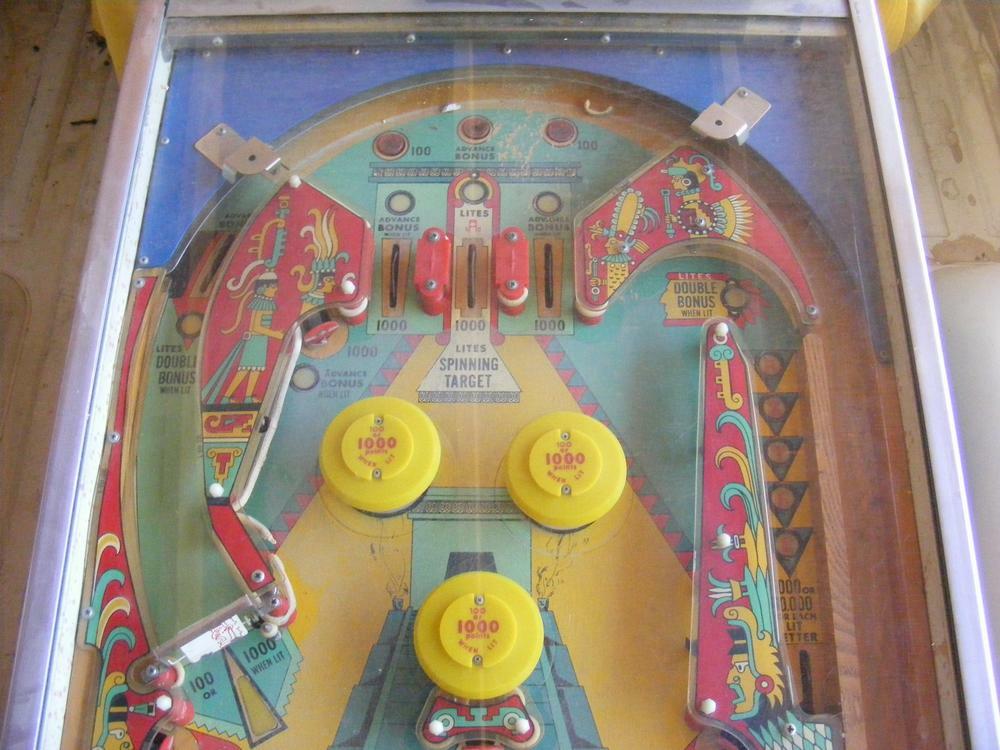
For some strange reason, I was anxious to play this machine. Without any thought, I began to take the parts off the playfield. I went through the normal disassembling of the score reels, pop bumpers, slingshots, kickback and flippers. This took me about two weeks. Then came the part of the restoration that I was dreading – the playfield touch-up. I was naďve enough to try to tackle repairing the complex artwork on the playfield with my only experience being some very simple touch-up of my Williams Expo. (See GameRoom Magazine 3rd Quarter 2016)
But I wasn’t stupid. Filling in that hole in the artwork was going to be challenging, to say the least. It would have helped if I had a color laser printer. I would have simply recreated the image on the computer and printed it out on a water-slide decal. But I only have a monochrome laser printer. Even so, I had been working over some ideas in my head that would make good use of that laser printer and water-slide decals.
After a good cleaning, I saw what I was up against. Not pretty.
The Long Process Begins
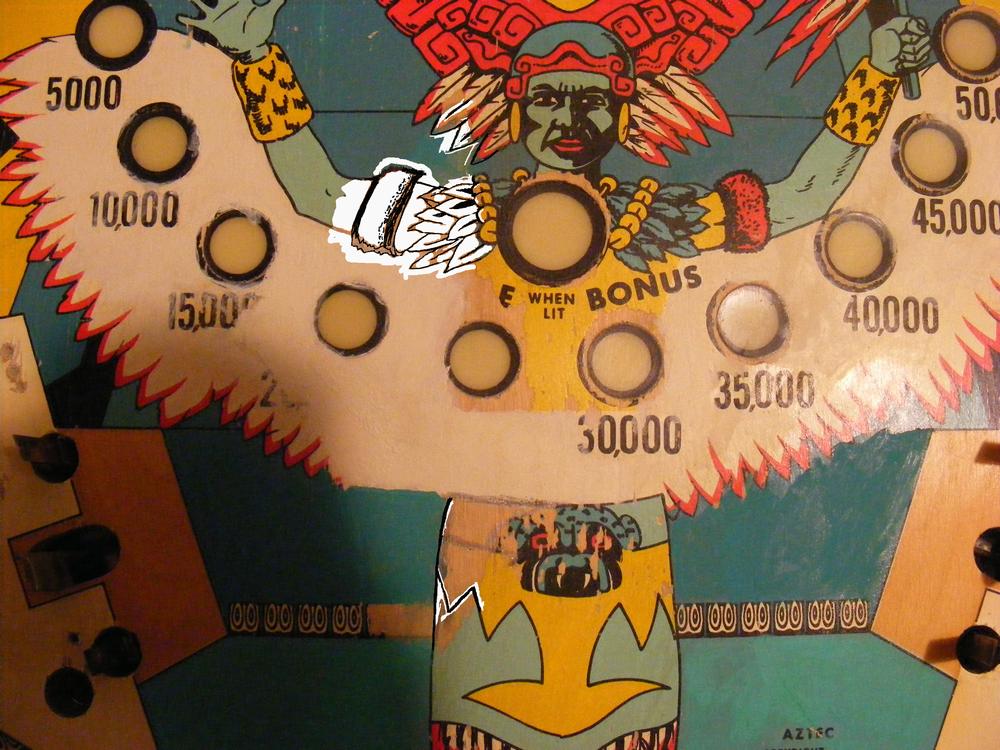
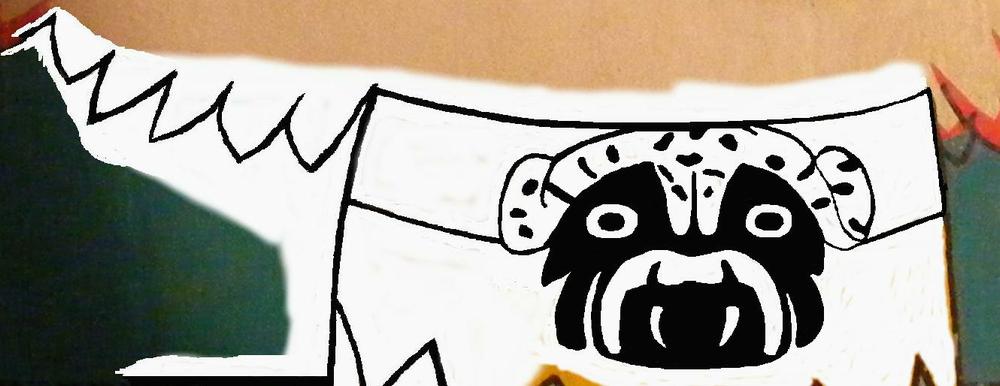
I began the long process by taking high resolution pictures of the worn areas of the Aztec Chief. I tried to use images from IPDB, but the resolution wasn’t good enough. Then, pixel by pixel, I removed the colored sections. I added the black keylines where missing and filled in any missing black areas. Yes, I know that this process can be automated when using some image editors, but if my el cheapo image editor has this feature I haven’t found it yet.
I ended up with an image that could be resized to match the image on the playfield and then printed on my Canon 530 laser printer. As mentioned in my Expo article, I reset many of the laser printer parameters to maximize toner darkness and to minimize the chance of melting the waterslide to the toner drum:
- Density: +4
- Original Type: Photo
- Sharpness: +3
- Paper Settings->Paper Size: LTR
- Paper Settings->Paper Type: Transparency
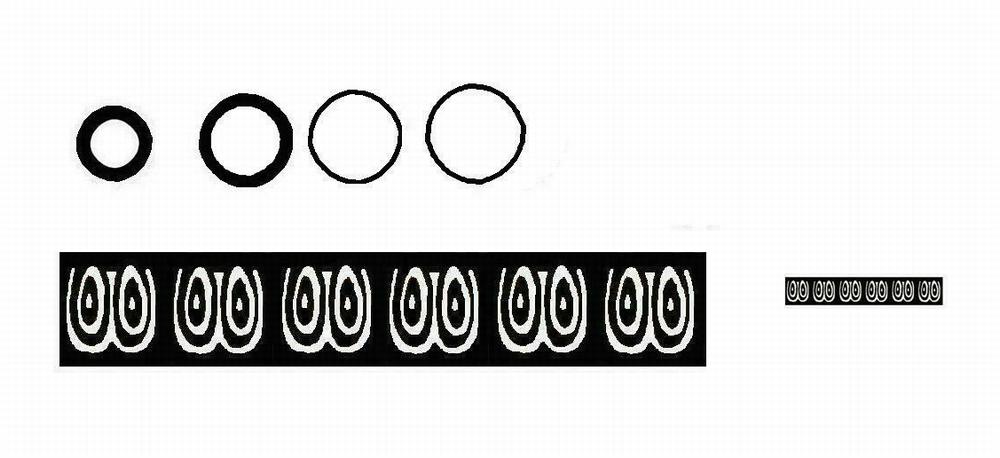
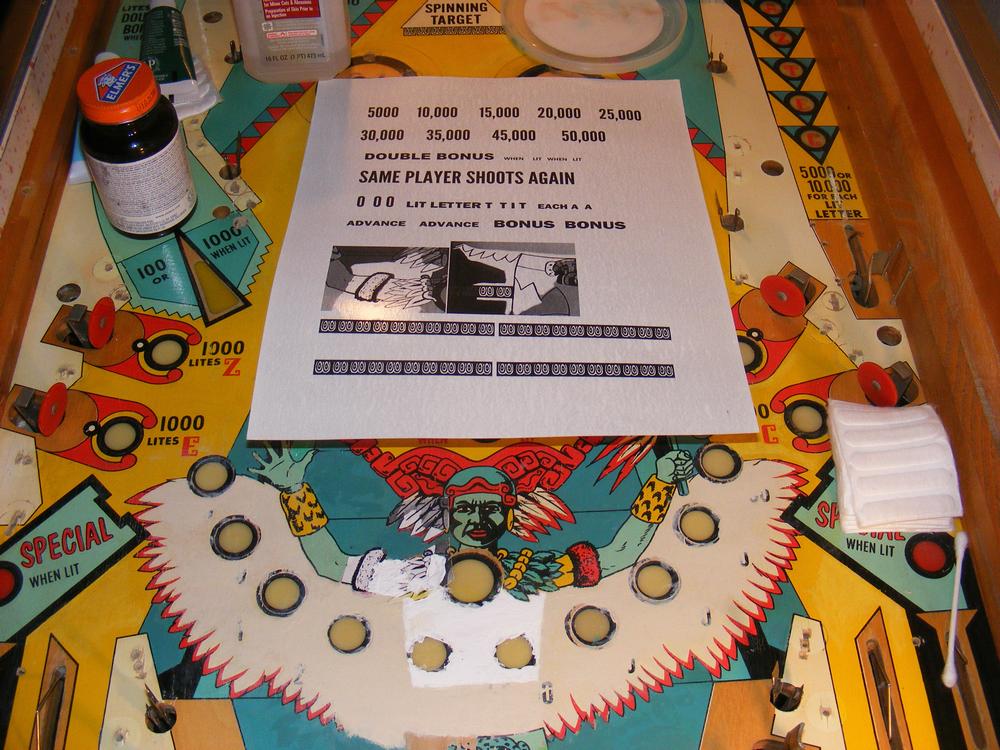
I put all of the images I had created in Word and ended up with a couple of pages of the images, text, numbers, circles and lines that I would need on the playfield. One reason I used Word was that it was easier for me to put everything in one place and to resize my images and fonts. I also used a tool called MWSnap3 that has a pixel ruler that can be used to determine, in pixels the height and length of these items before printing them out. But, for the most part, I used trial and error printing out and resizing images using plain printer paper until they were sized properly. I reused as much paper as possible by using the top and bottoms of front and back and by cutting off an inch or two before reprinting. I had to do a lot of trial and error to get the sizes right, but it had to be done.
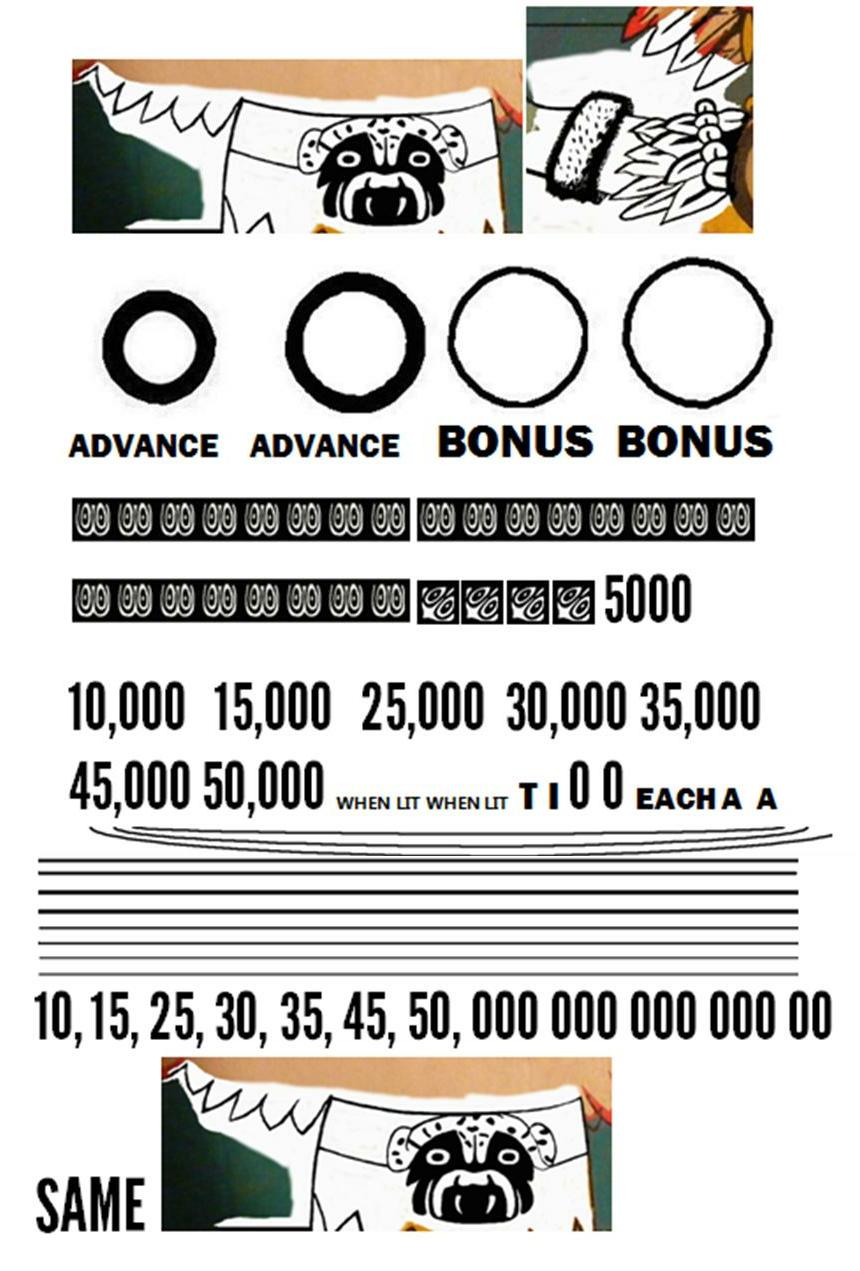
All of the fonts were found in Word except for the bonus numbers. Gothic was close so I looked for other Gothic fonts on the Internet and found League Gothic on The League of Moveable Type Website that matched and the best part was that the font was free! Thank you!

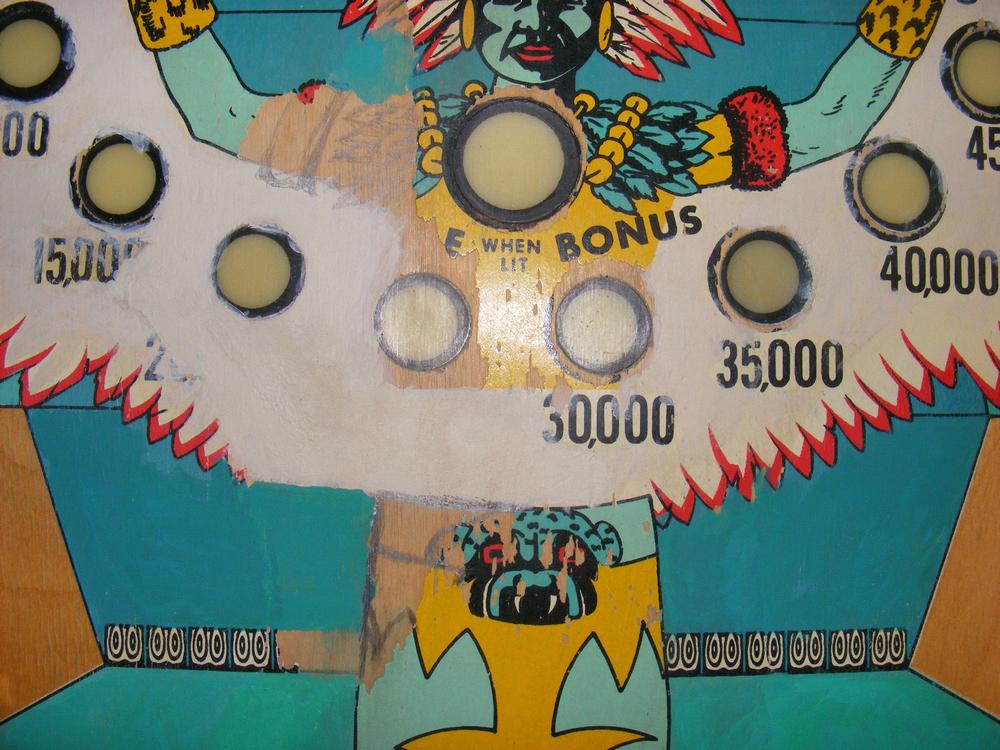
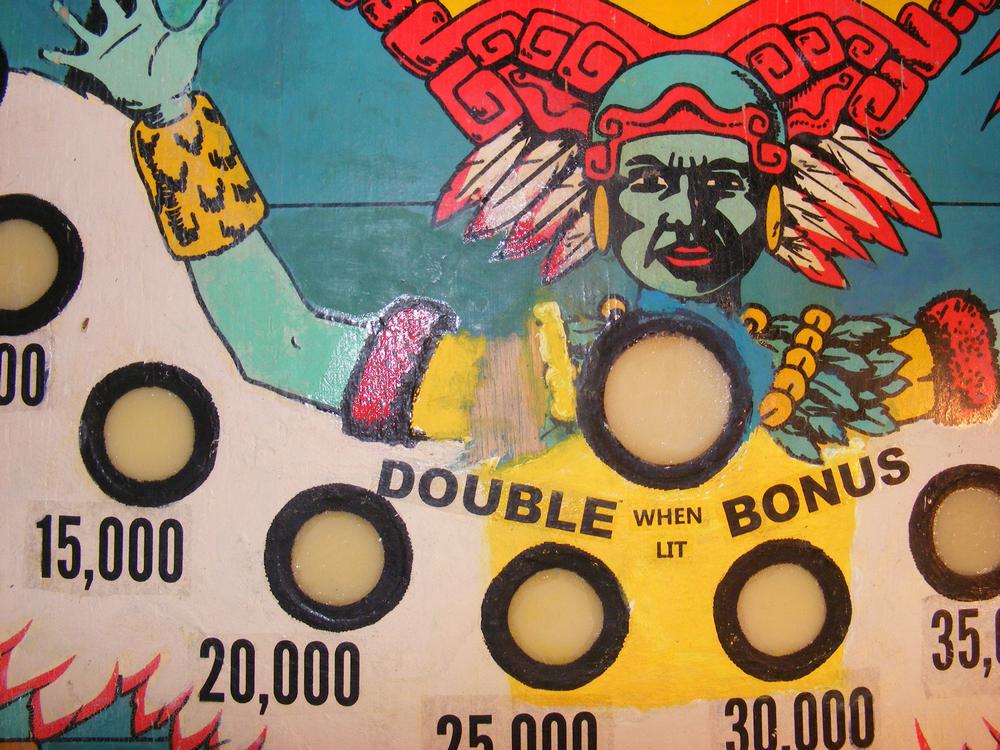
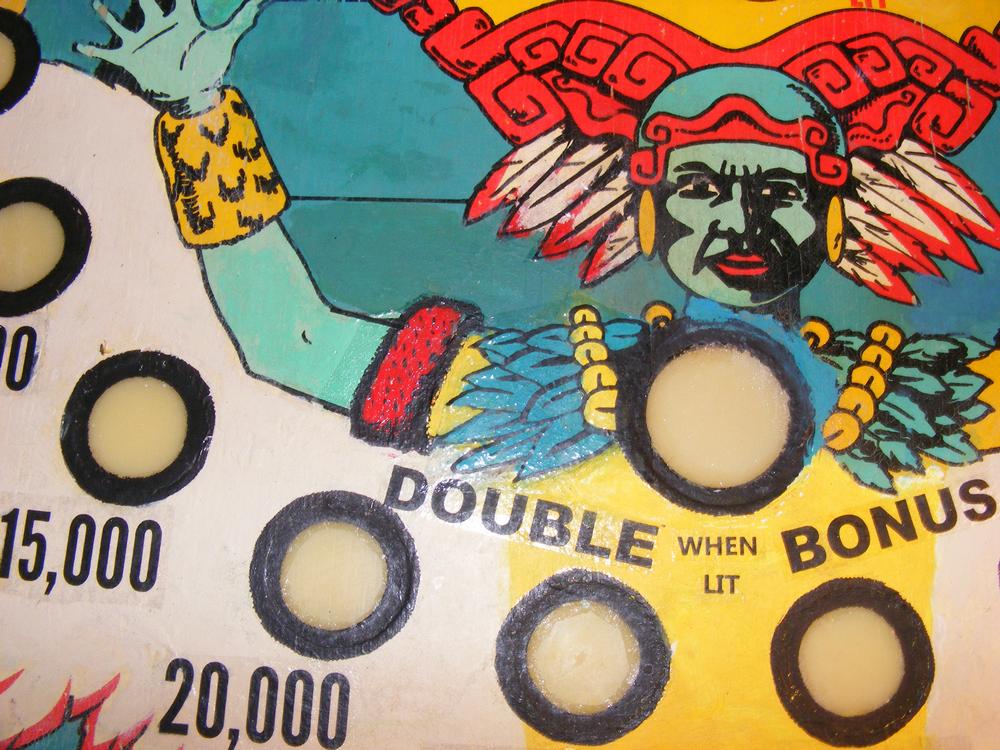
I printed out a copy of the lower playfield from an image I found on IPDB to use as a guide for laying down the background colors. I penciled in the bare wood area with the keylines. Next, I got out the acrylic paints and began to mix the colors and paint the background where the waterslide decals were to go using the pencil drawing as a guide. This is really hard work. It’s really hard to match the colors on the playfield and it’s really hard, for me at least, to paint inside the lines. Things haven’t changed much since I was in first grade. Evil, mean teacher paddled me with the ‘board of education’ because I wouldn’t or couldn’t color inside the lines!
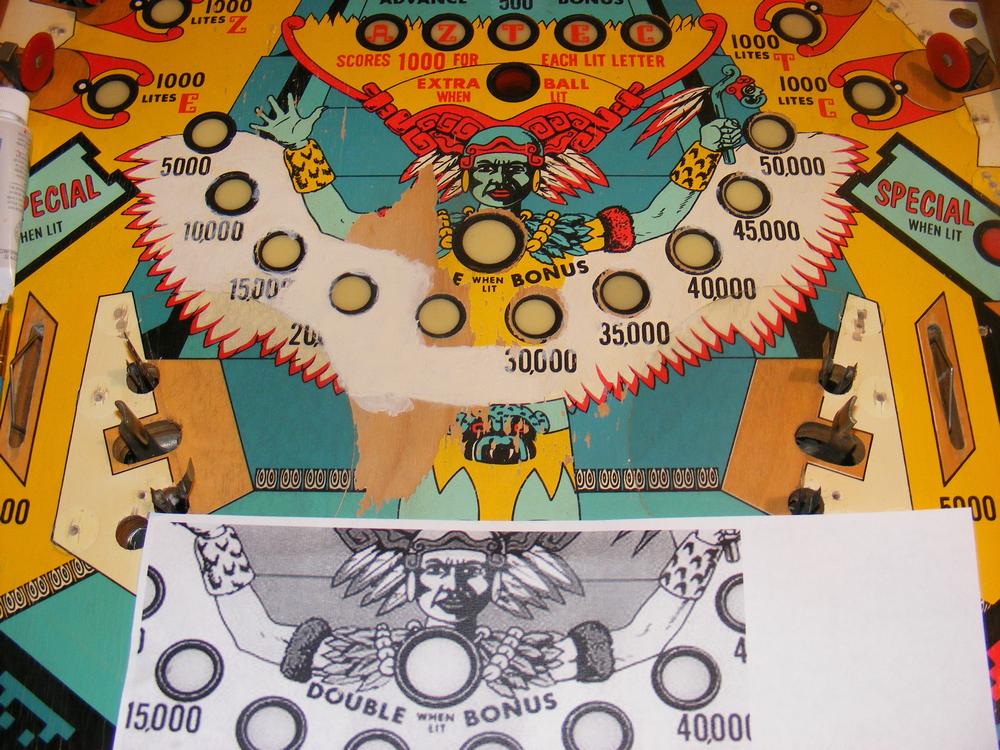
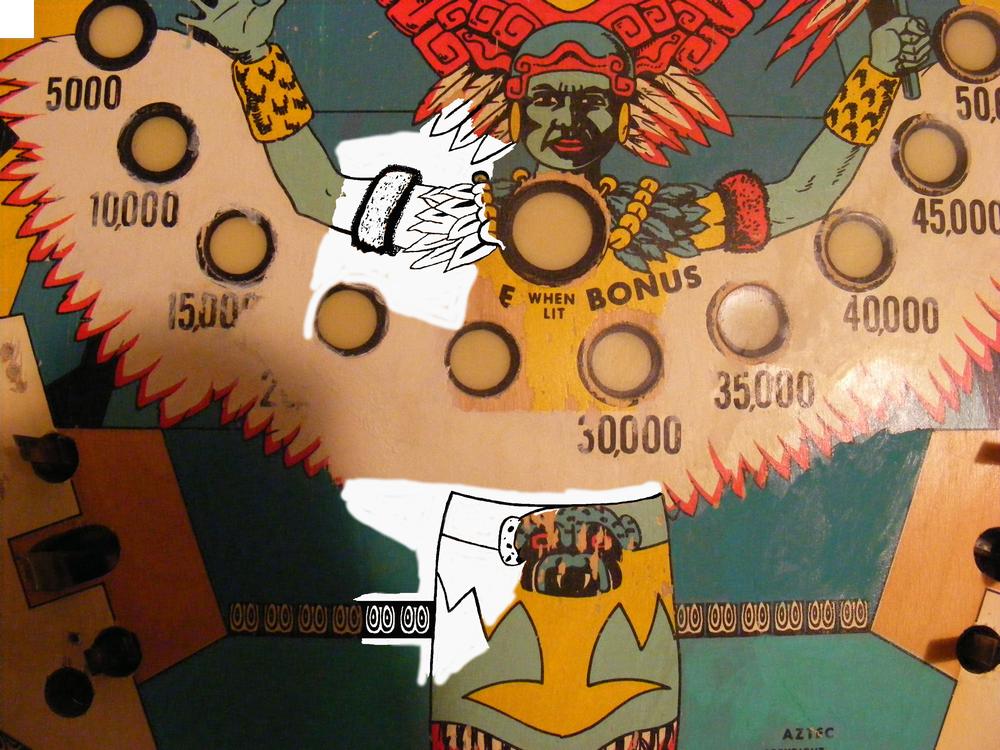
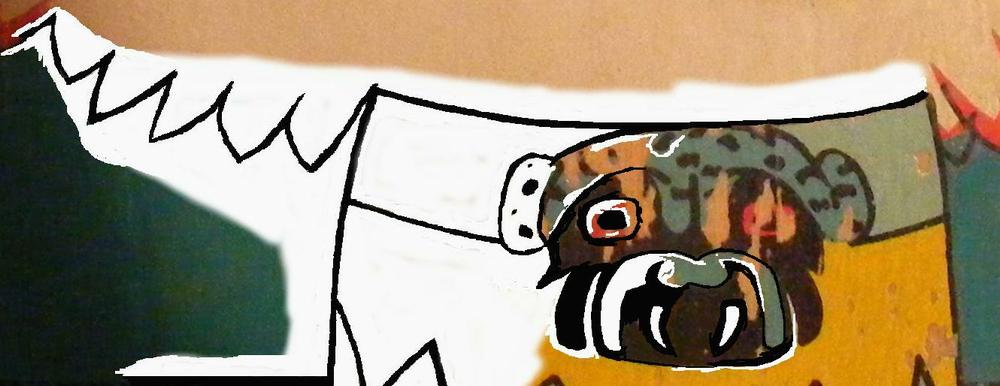
I printed out on regular print paper the art detail of the upper left arm. I cut out the areas that were to be covered with waterslide decals and put them on the playfield to mask the area under the waterslides (blue arrows). I could then paint up to the borders easily without worrying about painting inside the lines.
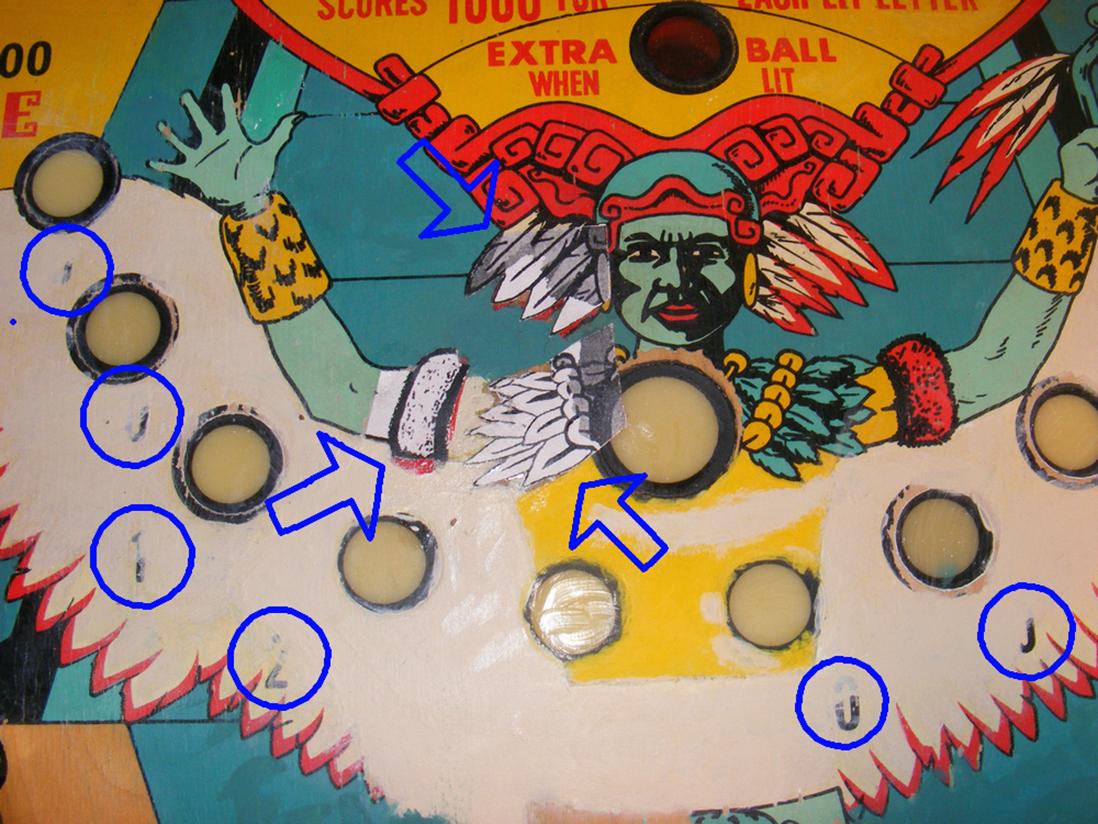
The entire wing was repainted portrait white. I left part of the original bonus numbers so I could put the waterslide decals of these numbers exactly where they belonged (blue circles).
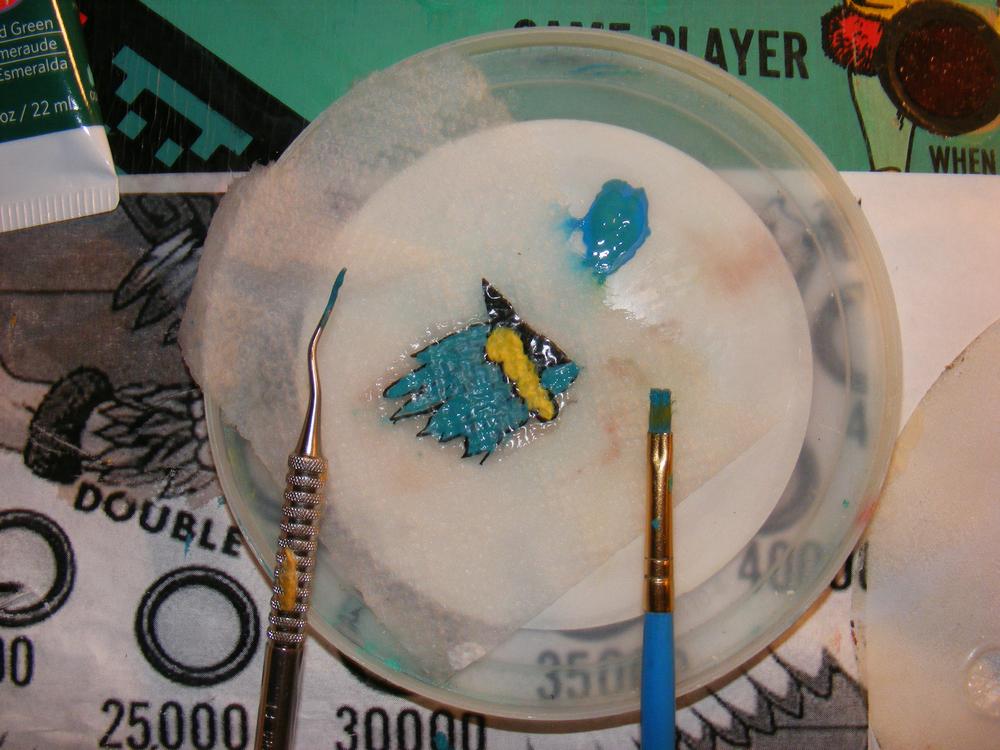
The yellow paint I had gotten at Michaels was low in pigments and poor at covering the background. I painted the area first with white. You can see this on the vest in the image below along with some of the other tools I was using – 91% isopropyl alcohol, lots of Q-Tips and cotton pads. Acrylic paint is easily removed when you make a mistake or need to redo an area. I did remove and replace a lot of paint! Most areas were redone at least once and some areas many more times. Don’t be afraid to make mistakes!

Most of the artwork above was redone. I had problems printing out the waterslide decals and had to run the waterslide through the printer three times. I didn’t realize it at first, but this slightly darkened the normally clear waterslide. The bonus numbers in this image had to be replaced. The blue-green colors that I tried to match were horrible looking. This had to be redone. I tried to add the missing decorative ‘eye’ design next to the skirt one set of ‘eyes’ at a time and that, too, looked horrid. I would have to come up with a better way to do that too!
Painting the color pigment on the playfield is one way to get color under the clear and black waterslide decals. I tried something new for the upper arm decal. I painted the color directly on the back of the waterslide decal. This seemed to work well. The only problem I had, and this happened with all waterslide decals, was that they wanted to curl up on themselves. It can be a real problem if the decal folds in on itself and two parts touch. This is why I printed more than one image on the waterslide decals.
It was about this point that I learned a very important fact; isopropyl alcohol and waterslide decals don’t mix. The decal will begin to fall apart. Not good. I switched to Q-Tips and water to remove paint from waterslide decals. I didn’t know it at the time, but I was also making another big mistake that would bite me when I got finished with the paint touch-up.
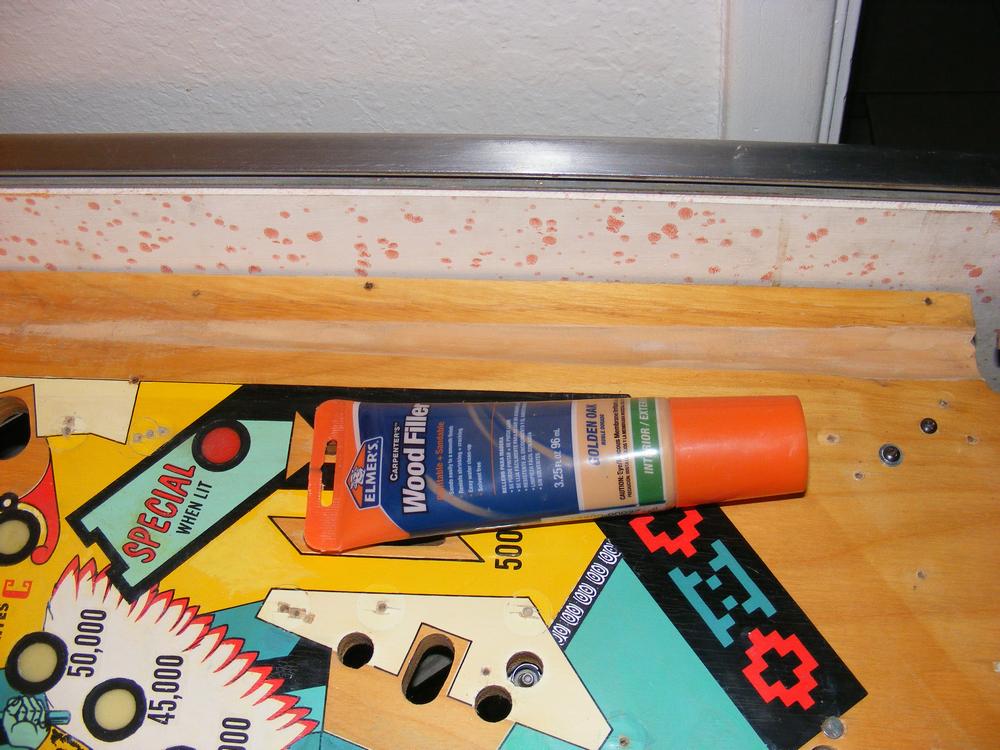
I tried another experiment with wood filler in the shooter lane. Sometimes this area can be sanded down to remove dark spots, but I’ve never had any luck with that. I tried instead to cover the dark areas with wood filler. This method allows the wood grain to show through and looks more natural than painting the shooter lane.
After weeks of work, I finally had the waterslides on and the touch-ups done.
The upper section had the same ‘eye’ design. I created several waterslide decals for it, one for each side and two more for the end designs. First, I painted the background white.
And then I put the waterslide decals on after the acrylic paint had dried. The top section was looking good:
Mistakes, Mistakes, Mistakes - Too Many Mistakes
And so was the bottom section I then gave the playfield a good cleaning, twice, with Naphtha. It was ready for the first clear-coat – or so I thought. What I had failed to remember, at great cost in time and energy, was that Naphtha shows what the touch-ups will look like after a clear-coat has been applied. I should have been testing the touch-ups as I was doing them to see if the color was a proper match.
After weeks of work it was finally time to put the first clear coat on the ole Aztec playfield. What is that saying? Ignorance is bliss? I remembered to vacuum the playfield before clear coating. I should get some bonus points for that! I had just enough of the old Krylon Crystal Clear Acrylic Coating #1303 to clear the playfield once. I let that dry for an hour, though the instructions say a recoat can be done anytime. I had bought a can of Krylon Crystal Clear Acrylic Cover MAXX at Walmart in the hope that it would be a cheaper alternative to the Krylon #1303. All was going swimmingly when I began to put on the Krylon Crystal Clear Acrylic Cover MAXX. I noticed that this can sprayed a lot more paint. After finishing the 2nd coat I noticed that fish-eyes were beginning to form on the left middle of the playfield. Fish eyes are when the paint fails to stick to the finish creating a 'pit' in the clear coat. I immediately began to spray more Clear MAXX in the area that had no clear. It got worse! Horrors upon horrors! I was living a nightmare! Clear coat was shrinking away from the surface and pooling on the edges of what was now becoming a fish-head - a much bigger problem than just an eye!
Thinking of how next I best screw up this project up I decided to risk brushing the pooled clear coat back into place with a clean 2" paint brush. This worked surprising well, considering how things were going, and the clear stuck this time. It left a slight ridge around the edge of the fish-head and some of the brushed area was rough. It doesn't look too bad from above and you can't even see it from the players view.
So, what went wrong with the second coat? The areas where less clear were sprayed were fine - or am I just imagining that? Was some silicone left behind from the Color Back that I used to clean the playfield? If so, why was the first coat fine? But I was pretty thorough cleaning the playfield twice with Naphtha and, besides, the first coat should have covered any contaminates left behind. Krylon Crystal Clear Acrylic Cover MAXX may be cheaper but what good is cheaper if you should avoid it like the plague? I took another trip to Michael’s so I could go back to the tried and true Krylon Crystal Clear Acrylic Coating #1303 to clear the playfield's final coats.
I had also forgotten to put old #44 or #47 lamps in the sockets. Oops! It turned out not to affect the lamps as far as I can tell.
But those weren’t my only problems. I had forgotten one of the cardinal clear coating rules. Naphtha will show how the playfield will look when cleared. I noticed that several areas at the top were darker or light than the background when cleaning with Naphtha but it didn’t register inside the grey matter. The result is that some of the aqua, blue-green and teal touch-ups were darker than the playfield ink. YIKES! All of that hard work and I had a mess on my hands. Fortunately I was able to fix this between coats.
Fixing the Mistakes
So much for my touch-ups! I decided to repaint the entire areas where the paint touch-ups weren't matching - two more nights of work but well worth it. The results were now acceptable! I noticed with the work light at a different angle and when checking the smoothness of the clear coat that the inserts were sunken - too sunken to ignore. A second round of Varathane helped to solve that problem. The stuff shrinks as it dries and I need to do a top off to get them level. After the repaint it was time for the second clear coat. This time the results were more than satisfactory!
There was one small problem. There was some crazing in one of the areas that had been completely repainted, possibly because the clear was not completely dry when applying the acrylic paint. I decided, based on past experience that I would do more damage than good trying to fix it so I left it alone. It’s not noticeable from the player’s viewpoint. This was just one of many of my Navajo Spirit Strings – a flaw left intentionally in the artwork.
The area of original paint loss was still pretty rough after only two coats of clear. Some areas were higher than the others, like the yellow areas that required multiple coats of paint. Even though the water-slides are super-thin, even these can be seen as raised areas. Other areas are lower, like the teal area that required only one or two coats of paint. And then there was the problem of the Mylar. I had originally planned to put Mylar on top of the final clear coat but the playfield must be flat before you can do that. That would mean sanding and I didn't want to go there. I wouldn't even think of sanding the playfield with only the two thin layers that were on there. So, the Mylar was nixed from the project.
The proper way to clear coat a pinball machine playfield is to sand the clear down to remove high spots, clear again and repeat until the playfield is flat. I was terrified that I would ruin my four weeks of work and rather than experiment with sanding, I didn’t even know if the Krylon Crystal Clear could be sanded, I decided to leave the clear coats alone. There are two very good reasons for wanting a flat playfield. Dips or hills can affect the direction of the pinball and high spots tend to wear faster. I haven’t seen the ball direction affected by the ‘rough’ playfield and I don’t expect there to be that much more wear since this will be a Home Use Only (HUO) pinball. But I will be keeping a close watch for any premature wear. I can always learn how to properly sand a clear coated playfield during my next project or in, say, maybe a decade from now but only if I have to!
Success!!
I ended up putting on 5+ coats of clear. I sprayed the last coat from a further distance. This left lots of tiny droplets of paint on the playfield giving the finish a softer ‘satin’ look. I don’t like shiny playfields on my EMs! This worked relatively well and will be using this technique again if it holds up well over time. No Mylar meant that I still had that wonderful ‘pinball rolling over wood’ sound. Other good things happened after this many coats of clear. The ‘rough’ playfield was now much smoother, almost flat.
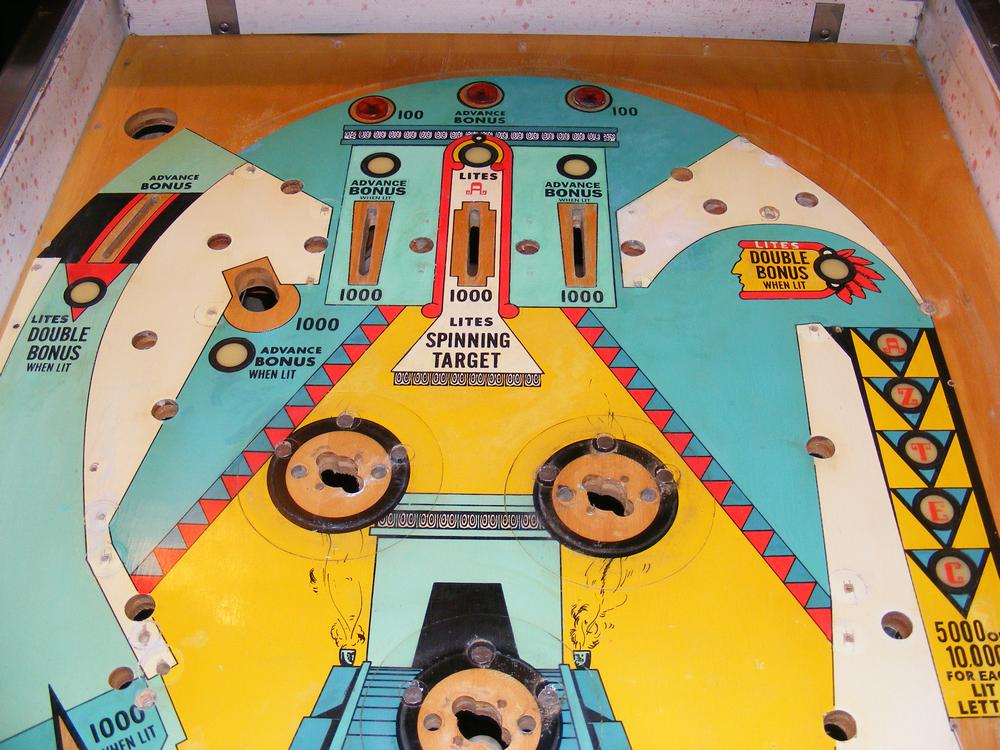
Gone are the rough playfield and glossy finish
Awesome!!
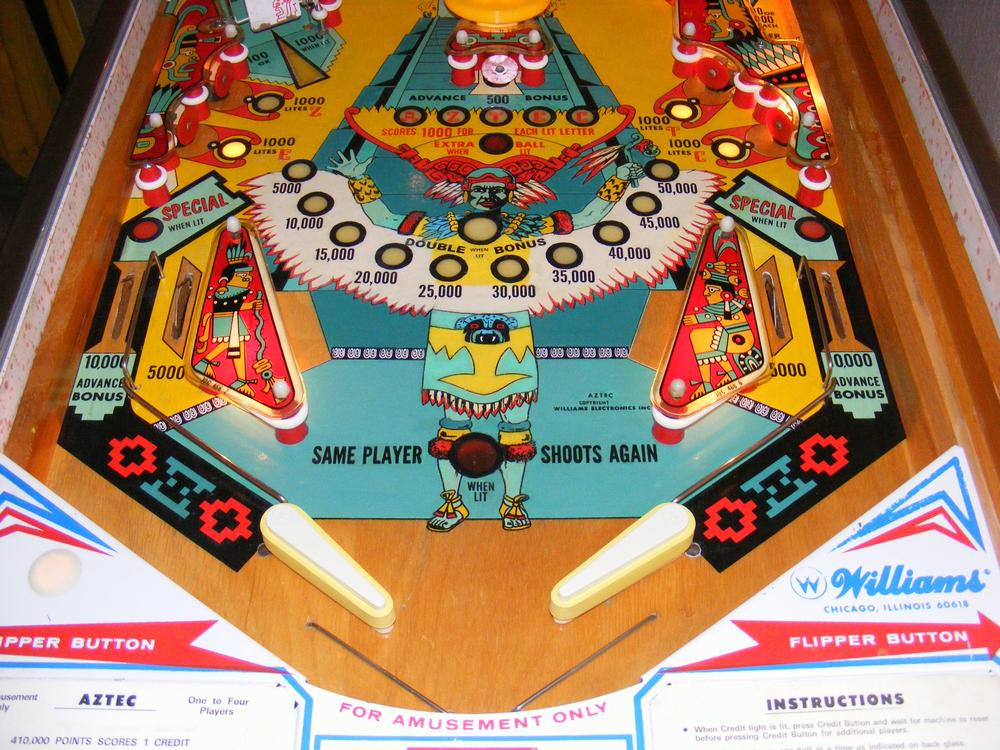
Yes, believe it or not, that really is the same playfield that I started with. After putting the playfield parts back on and several coats of carnauba wax I was able to manually trip the right relays to start this beast up and play a game or ten. This playfield now plays super fast! Success!! How sweet it is!
Considering my artistic talents and where I started from I am ecstatic with the results! But I could have gotten the project done much faster if I hadn’t made so many silly mistakes. I should have known better. Do yourself a favor and learn from my mistakes and take some comfort in the fact that even after several near disasters the end result was one I could be proud of.
| Pecos SoftWareWorks Home | Contact Me | Terms of Use Rev 09/30/10 | Privacy Policy Rev 05/20/09 | About Us |
| Tweet |
|
||
|
© Copyright 2018 Alan Norton None of the content may be used or reproduced without written authorization from Alan Norton. |